We recently announced our new product Witty Pi Mini, which is a Raspberry Pi Zero sized Witty Pi. If you have read this tutorial about putting Zero2Go and Zero4U together, you may wonder if we can do the same with Witty Pi Mini and Zero4U now.
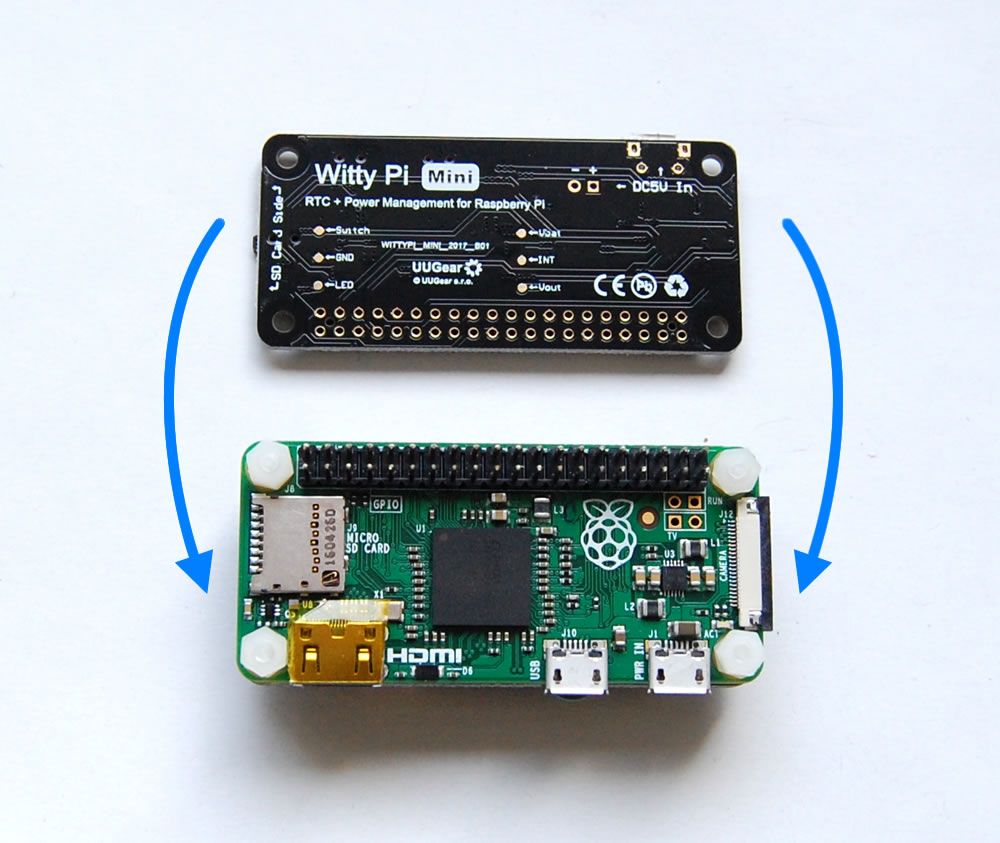
The answer is positive. Why not? The Witty Pi Mini can be mounted on top of Raspberry Pi Zero (W), while Zero4UI can be mounted underneath, there is nothing to stop you from making such a sandwich structure, and it will work as expected. Now we will show you the detailed steps.
Please make sure to solder the 40-pin GPIO header on your Raspberry Pi Zero (W) beforehand, otherwise you will not be able to mount Witty Pi Mini on top of it.
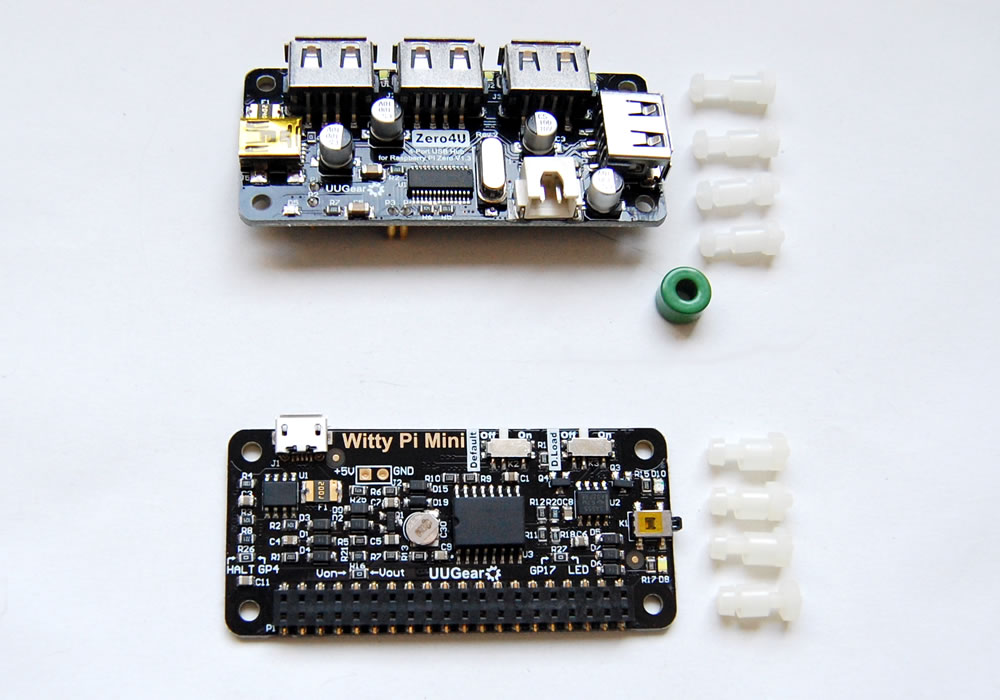
Inside Witty Pi Mini’s package, you have 4 plastic screws, 4 plastic spacers and 4 plastic nuts. You can find almost the same inside Zero4U’s package, but you will get one more ferrite ring for protecting the pogo pins from interference, when using Zero4U on Raspberry Pi W. Now we will need all the plastic screws, spacers and nuts from Zero4U’s package, and all the plastic nuts from Witty Pi Mini’s package.
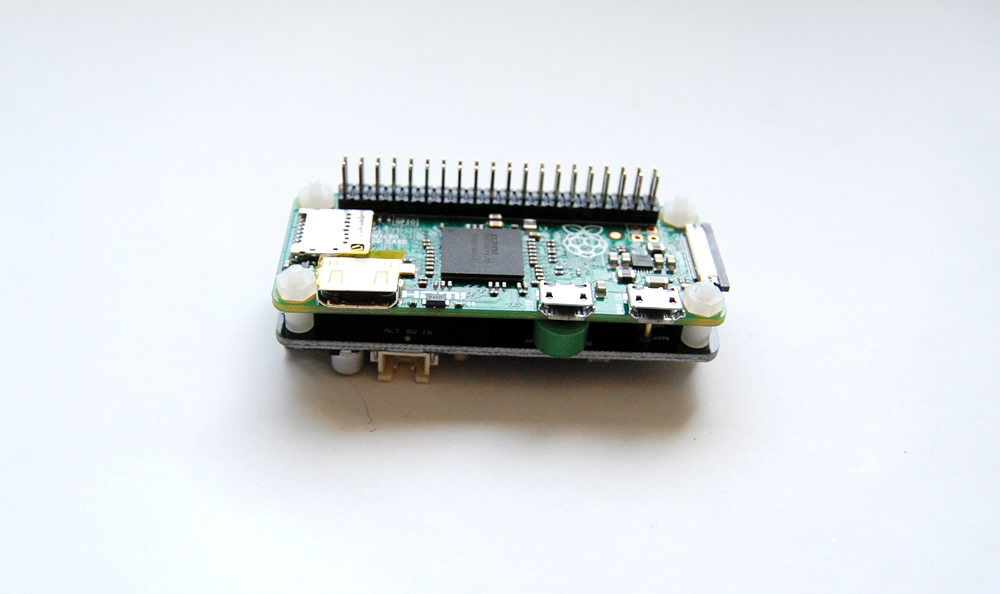
First step is to mount Zero4UI at the back of Raspberry Pi Zero (W) and use the plastic screws, spacers and nuts to fix them, the ferrite ring is necessary when using Raspberry Pi Zero W. In the user manual of Zero4U you will find more details of how to do it.
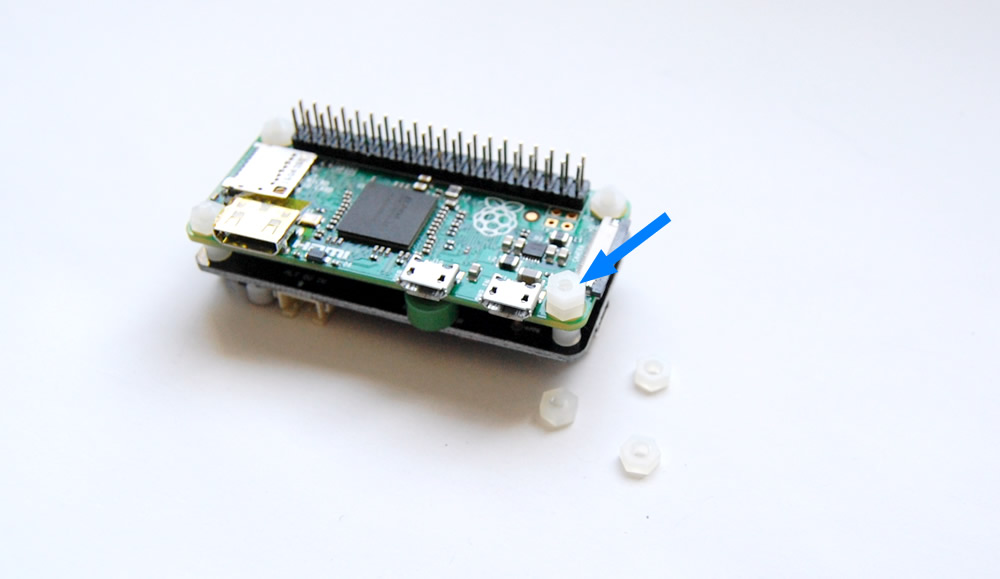
As you can see there is screw thread exposed above the plastic nut, let’s put the plastic nut in Witty Pi Mini’s package on it and tighten. We do the same to the all 4 corners.
Now we can mount Witty Pi Mini on top of Raspberry Pi Zero (W). Because the plastic screws are not long enough, we can not put the nuts above Witty Pi Mini board and tighten them, but the plastic nuts underneath can work as spacer and make sure the distance between Witty Pi Mini and Raspberry Pi Zero (W).
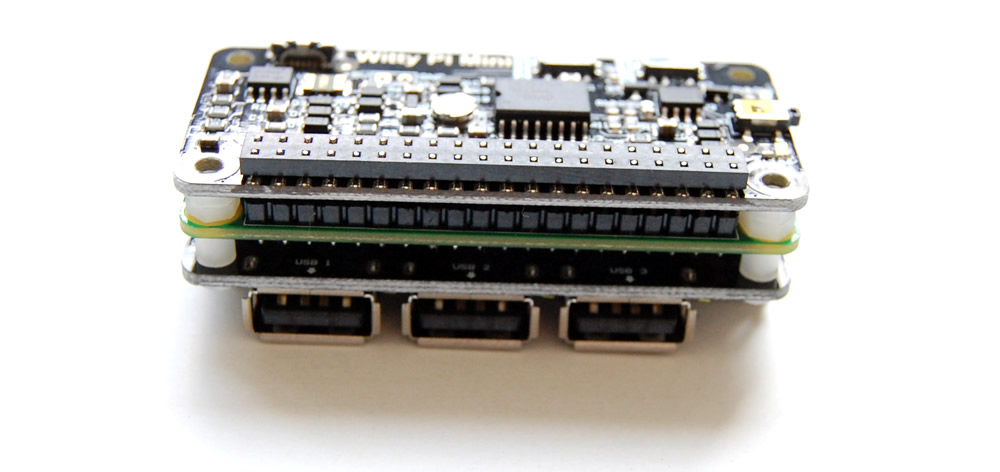
Now you have the sandwich 😀 Thanks to the 40-pin GPIO pin header, the connection will be quite reliable.
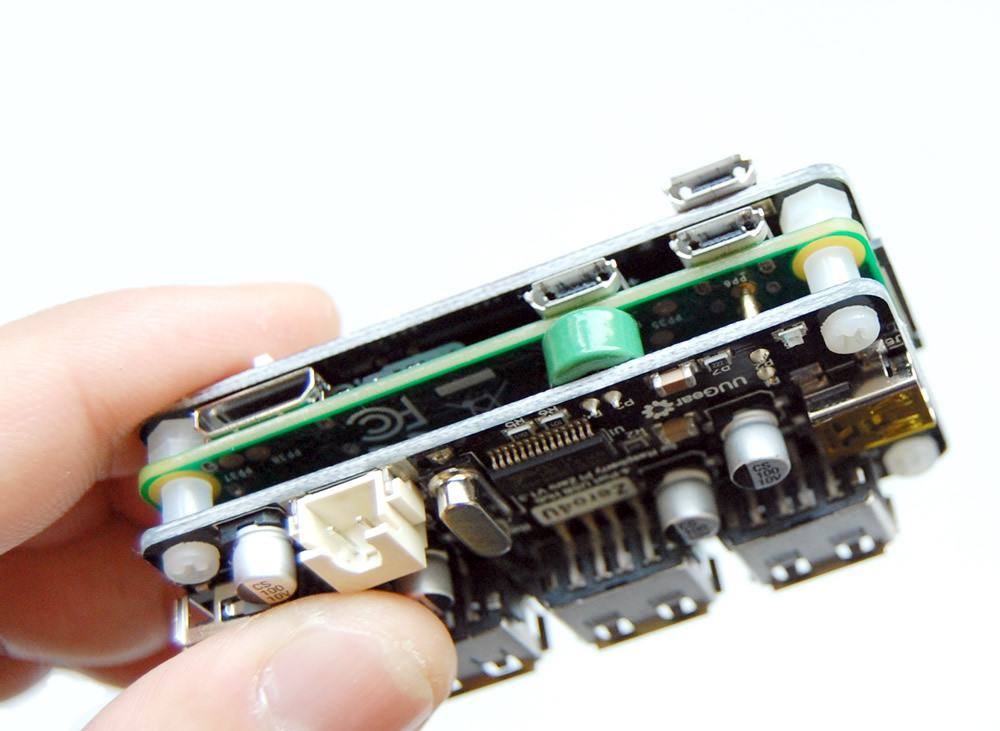
In the picture below you can see the double-screw between Witty Pi Mini and Raspberry Pi Zero (W) can avoid bending the GPIO pins (in the rear) when squeezing the sandwich.
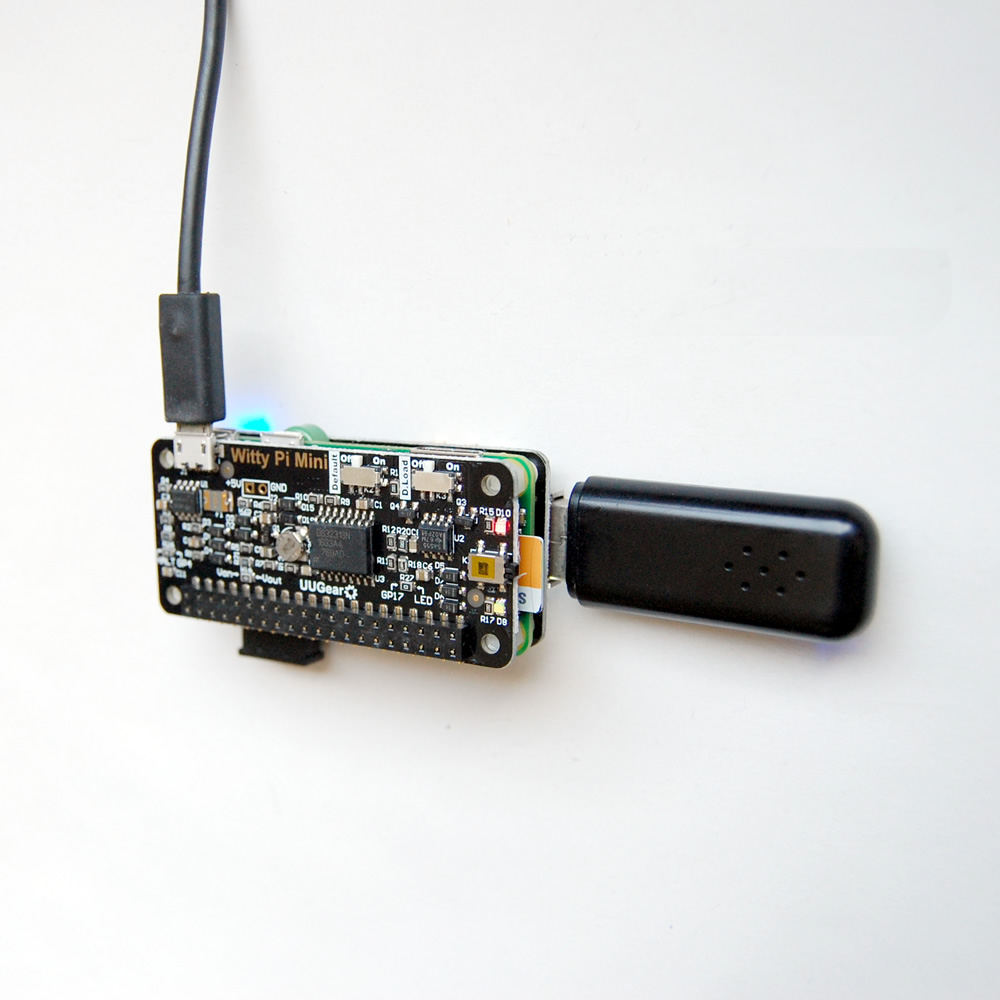
Now there are three micro USB ports, one on Witty Pi Mini and the other two are on Raspberry Pi Zero (W). You need to connect the power supply to the micro USB port on Witty Pi Mini.
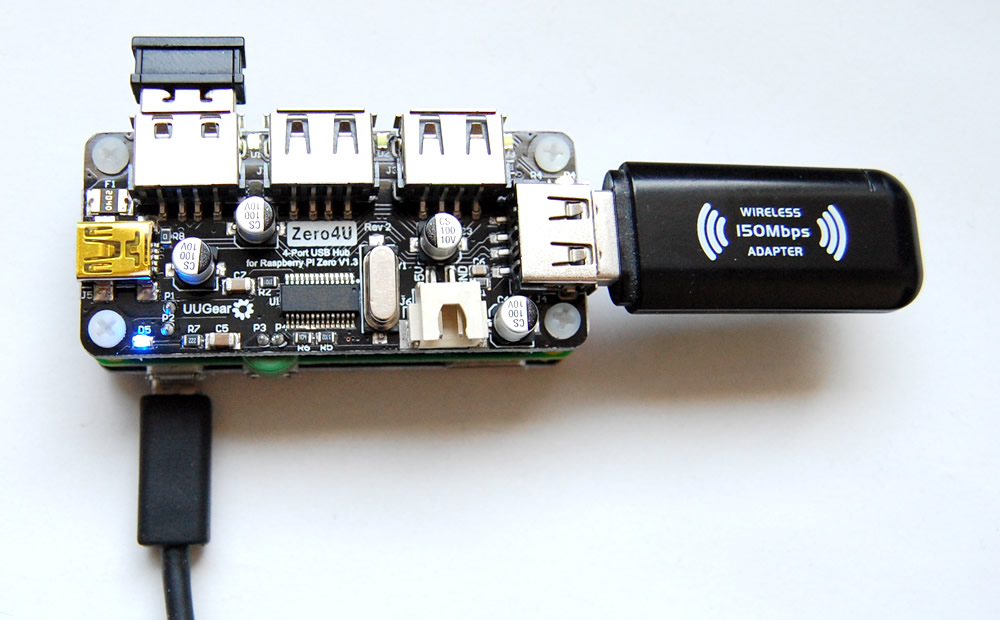
Now you can tap the button on Witty Pi Mini and boot your Raspberry Pi Zero (W), and you have 4 USB ports to use after the booting.