 1")
 2")
 3")
 4")
 1")
 2")
 3")
 4")
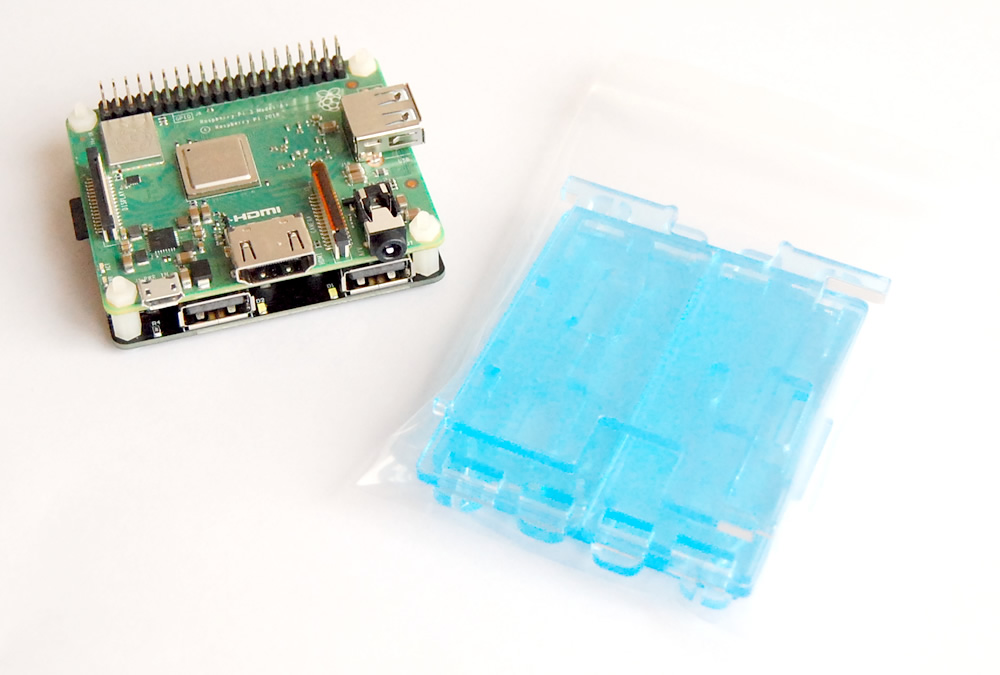
This case is composed 6 pieces of clear acrylic sheets, and can hold your Ace4U (4-port USB hub) and Raspberry Pi A+/3A+ together. The acrylic sheets are 3mm thick and the case can protect your 4-port USB hub and Raspberry Pi A+/3A+ from dust.
The top cover can be opened so you can connect/remove cables to/from the CSI and DSI connectors. There is also a window for GPIO header, so you can still access all GPIO pins.
Step by Step Assembly Guide
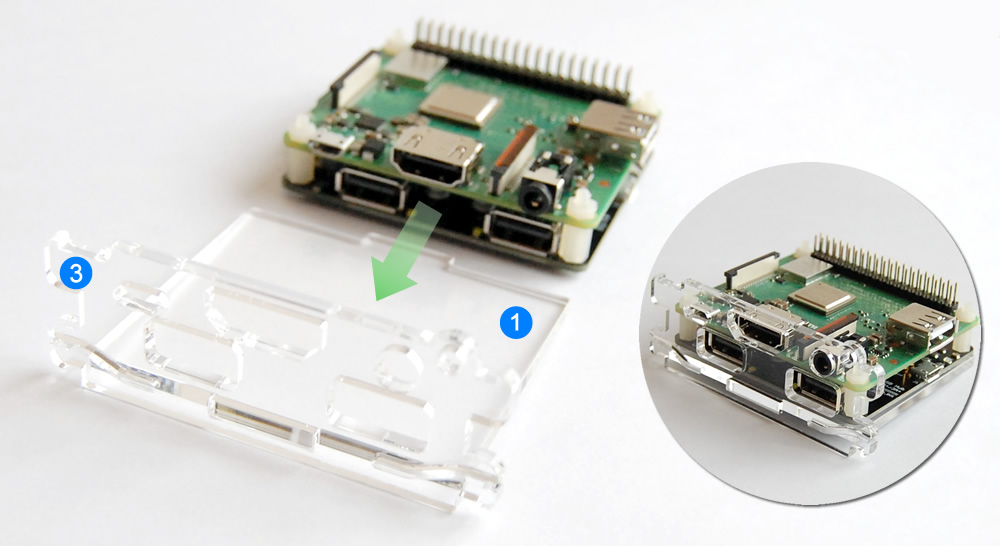
Before starting the assembly, please follow the instructions in Ace4U’s user manual and have Ace4U firmly attached under Raspberry Pi A+/3A+.
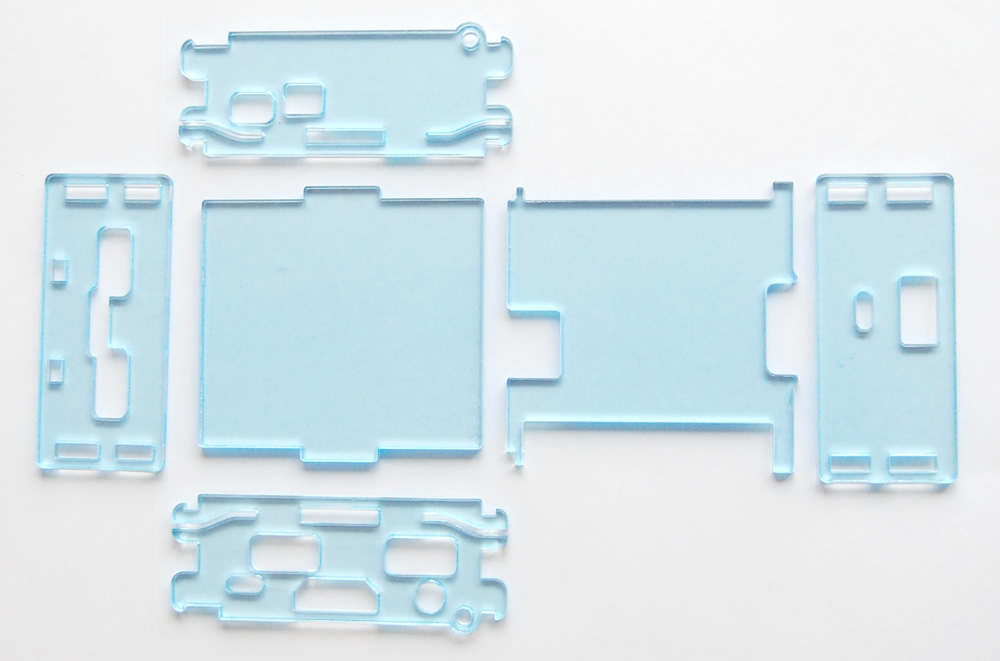
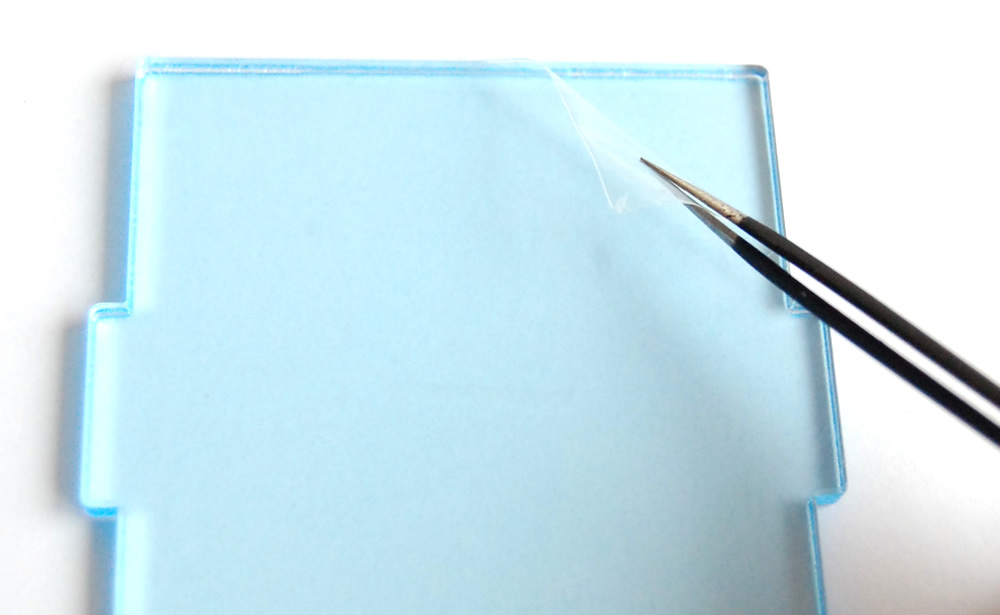
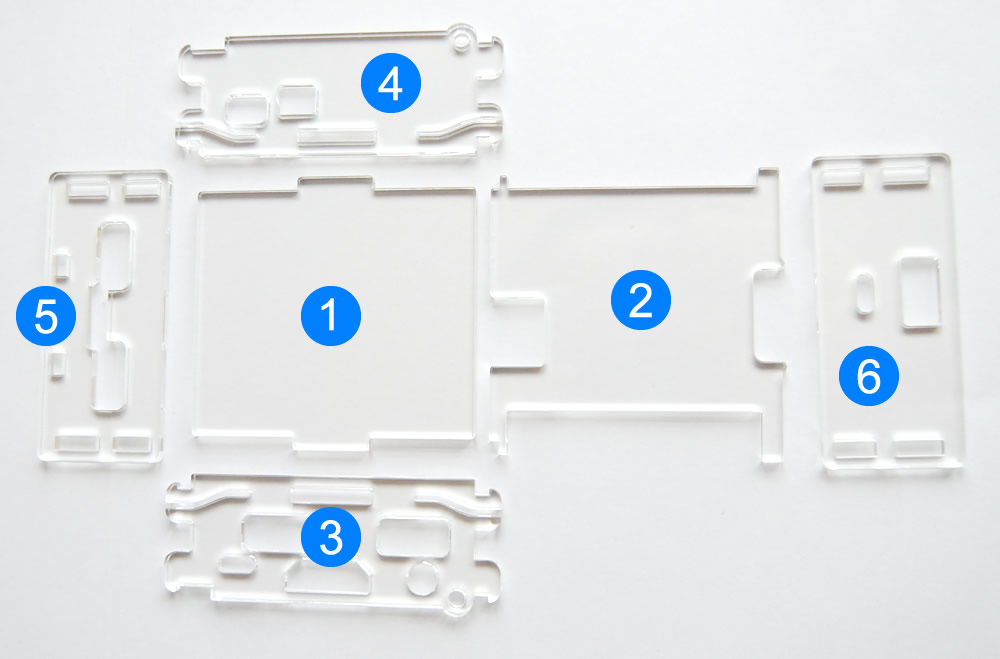
The case is composed of six acrylic plates. Each acrylic plate has protective membrane on its surfaces, and you will need to remove the membrane before going to the next step.
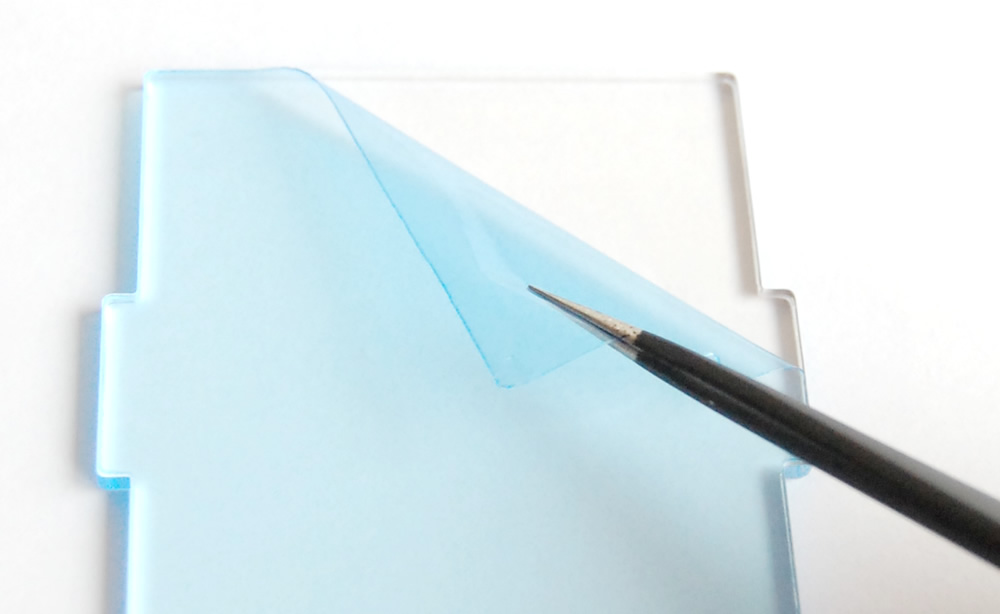
Use tweezers or fingernails to peel off the membrane on both sides carefully, then you will see the smooth surfaces and the pieces will become transparent. First remove the membrane from one side:
Then remove the membrane from the other side:
Now we have all pieces ready. Here we mark them with number 1~6, to ease the description of later steps. The piece with number 1 will be described as piece #1.
Connect piece #1 and piece #3, as shown below (please pay attention to the direction of piece #3). Put your Ace4U+Raspberry Pi A+/3A+ in place.
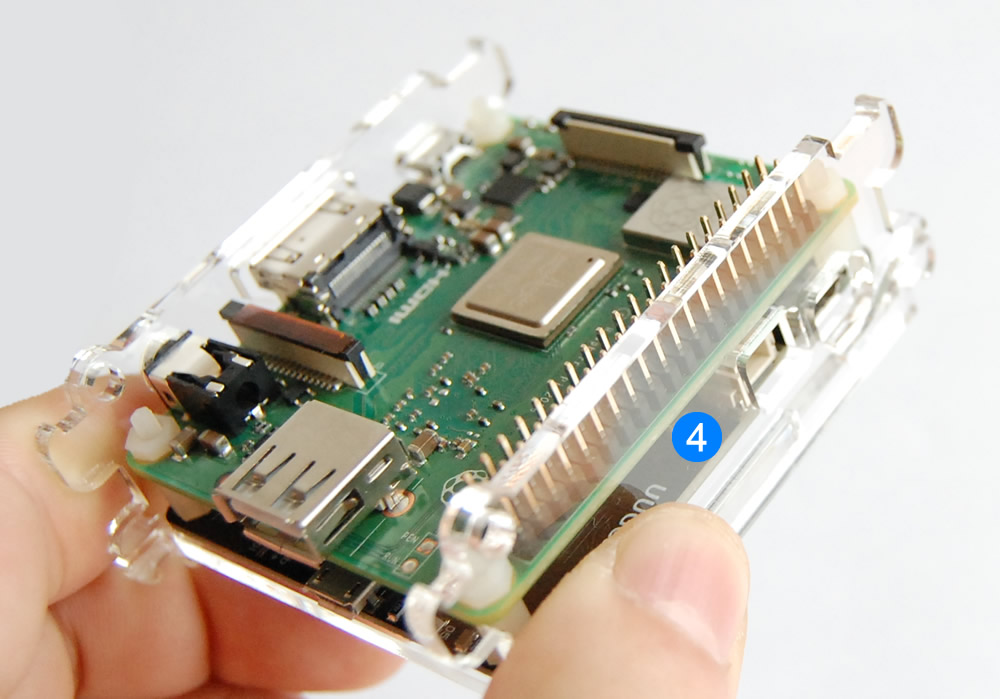
Then connect piece #4 as shown in picture below. Use fingers to hold them together.
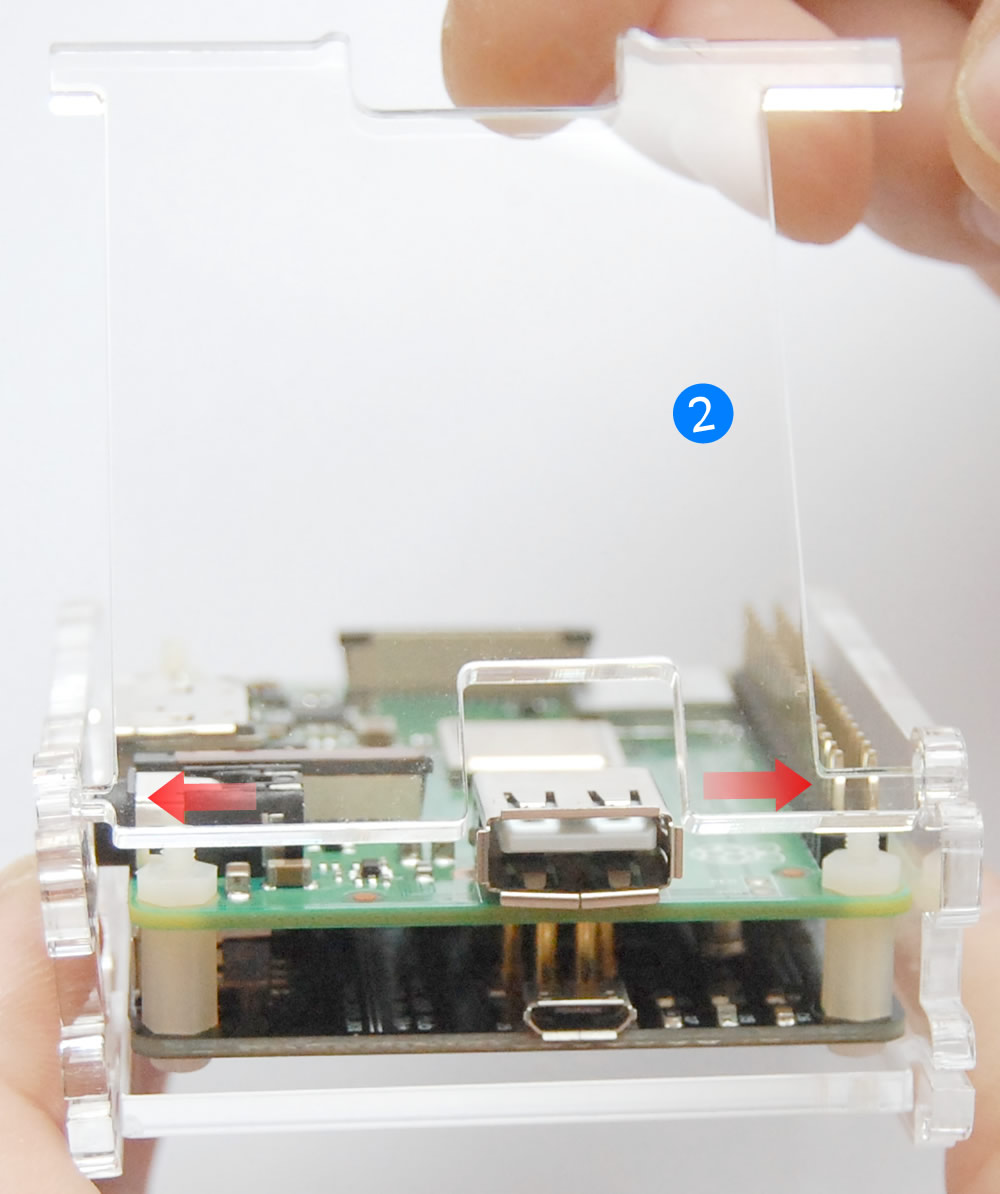
Now mount the top cover (piece #2). Make sure the direction is correct (the top cover has windows for GPIO headers and USB port on Raspberry Pi).
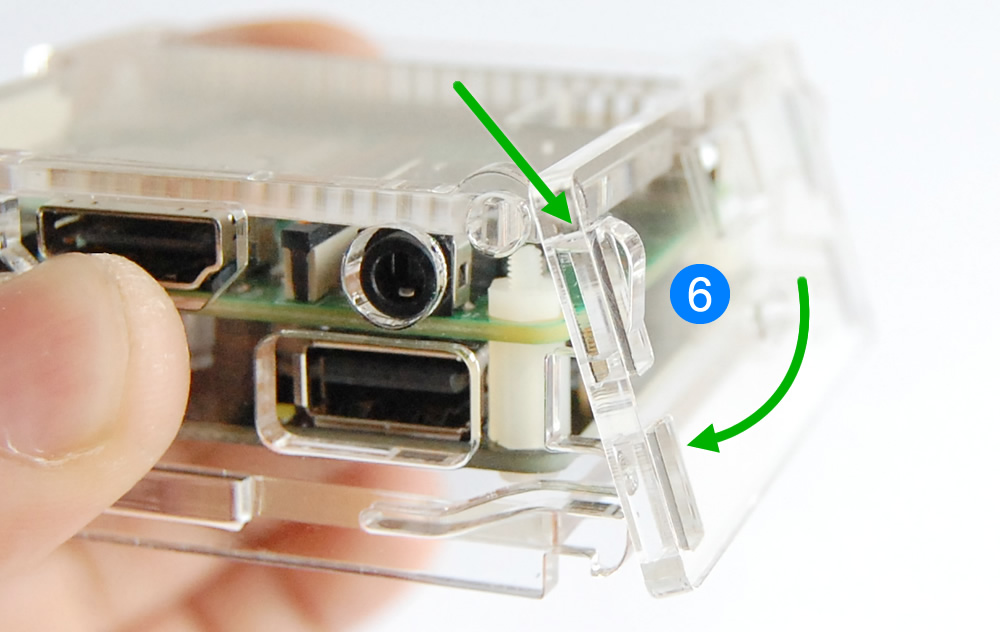
Continue holding them together with fingers, and slide the top of the piece #6 over the two hooks on top, then gently pivot the plate downward over the two hooks at bottom. It should snap to the position. If you feel big resistance, don’t push it, or you might break the hook. Please double check the direction of piece #6, the window for upstream USB port should be on top-right position.
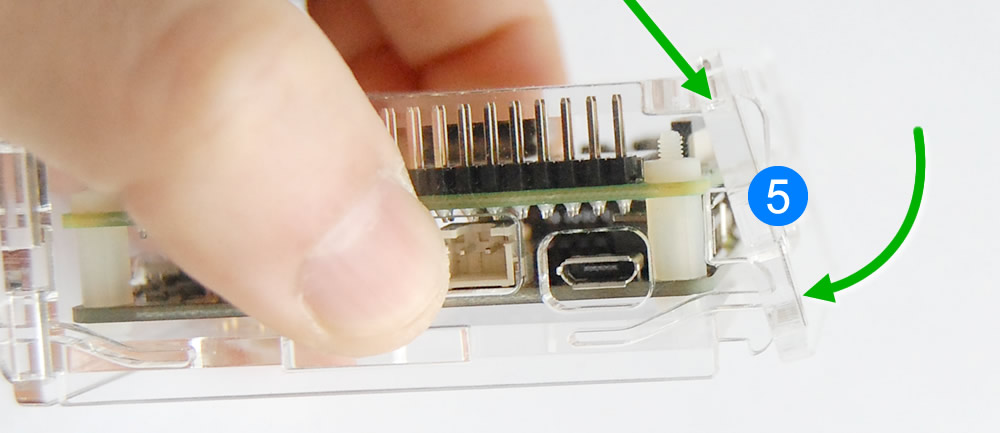
You can assembly the piece #5 in the same way.
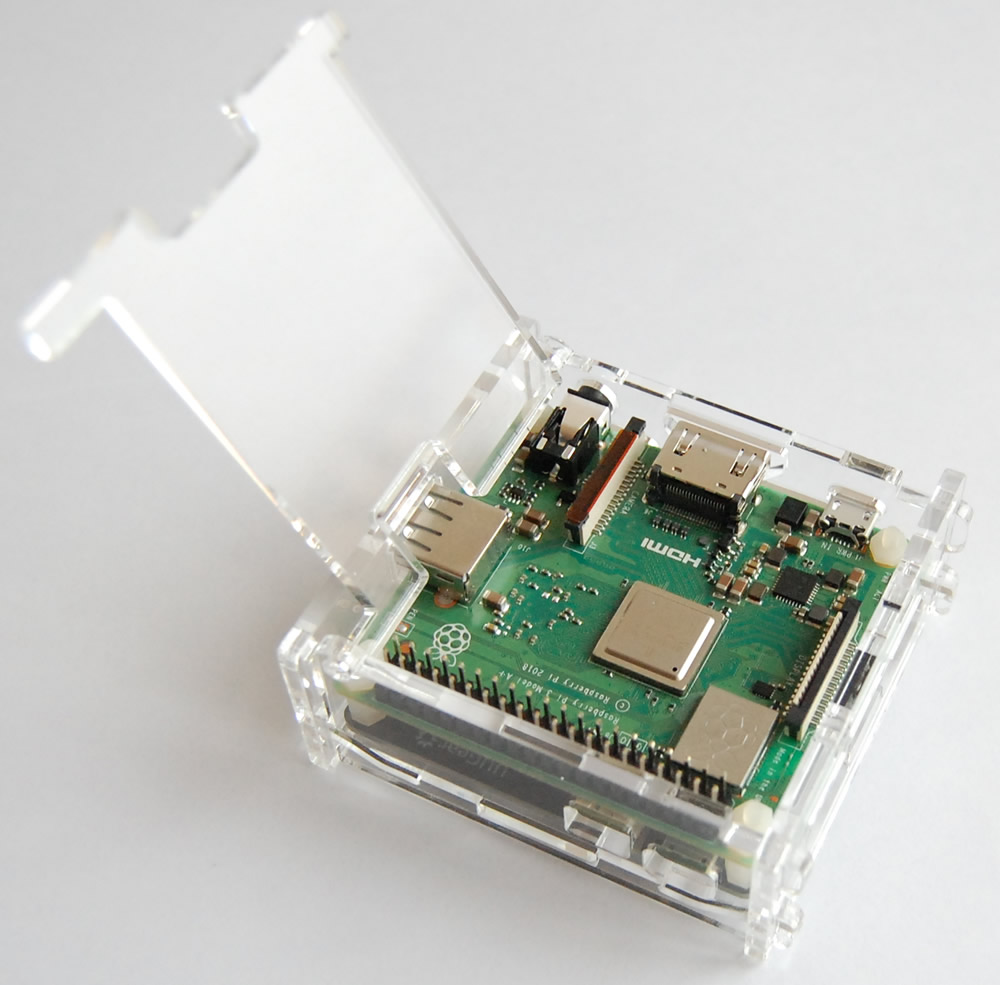
The assembly is done. If you need to disassembly it in the future, you will need to start from the bottom hooks (for both piece #6 and piece #5).
The top cover can be opened, as shown in picture below:
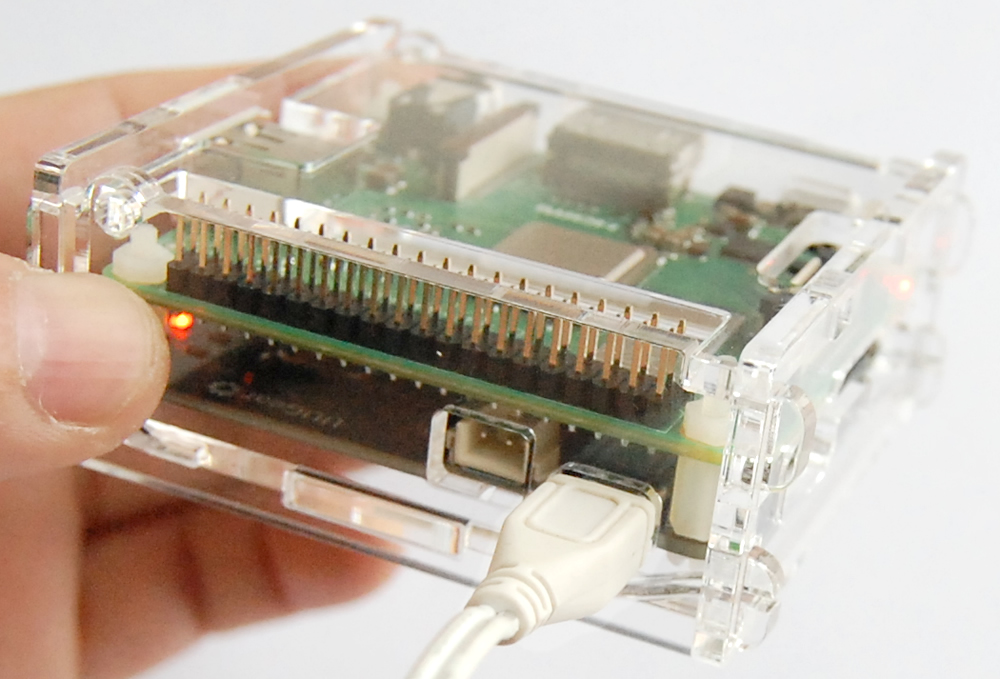
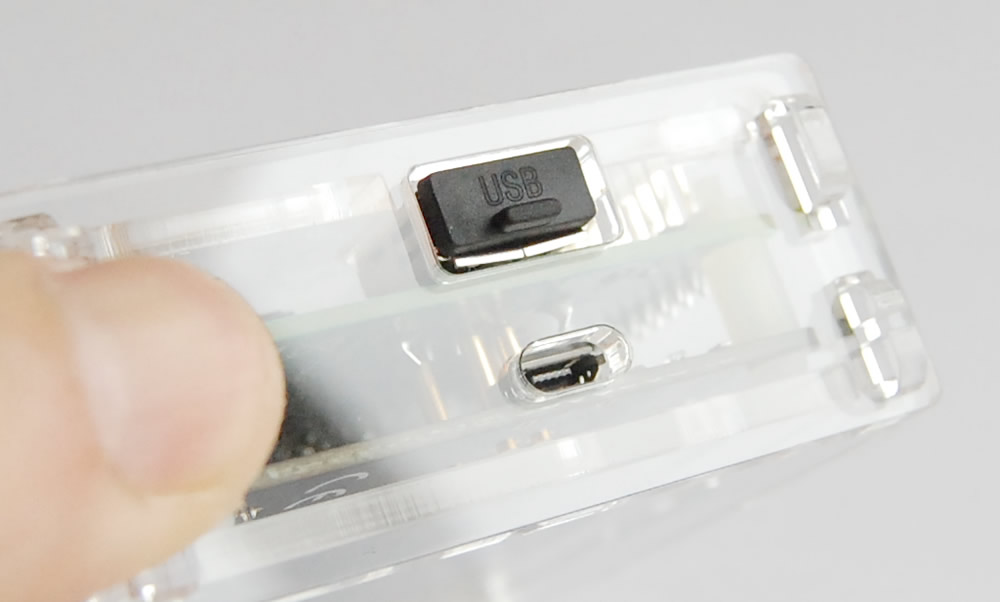
The power supply should connect to the micro USB port or the XH2.54 connector near the GPIO header. The case only opens very small windows for other micro USB ports, because they are not suppose to be used (but they are still accessible if you really want to).
The USB port on Raspberry Pi A+/3A+ is not suppose to be used as well. You may consider using a rubber plug (not included in the package) to cover it:
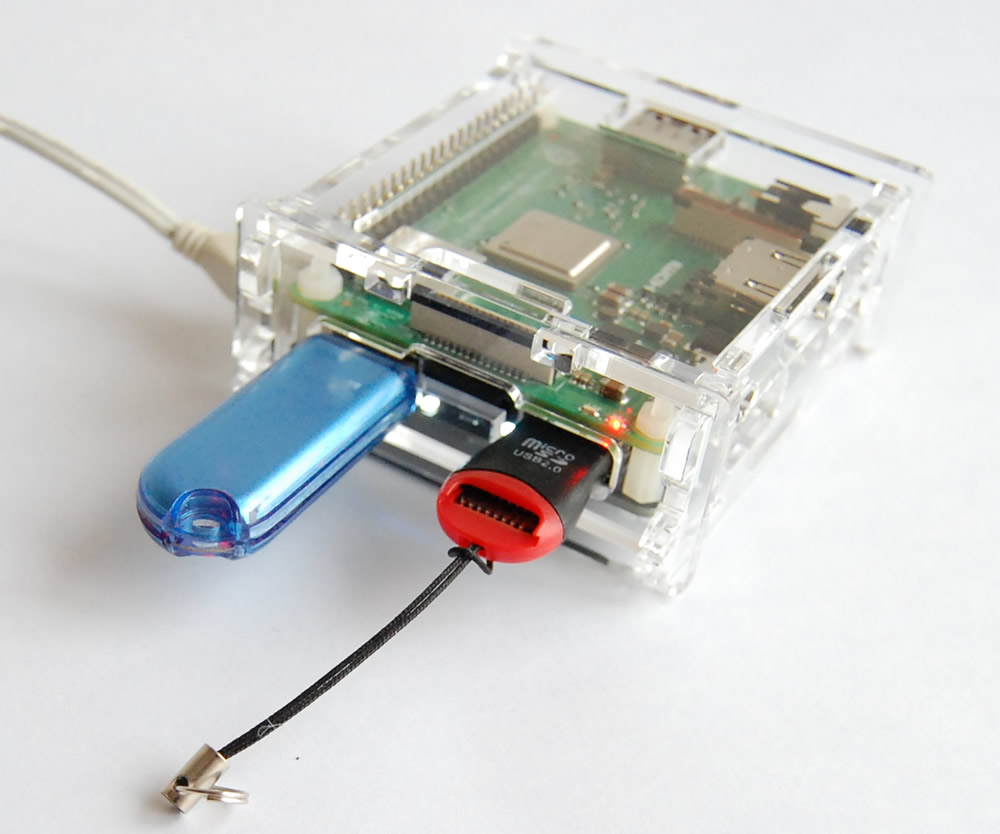
After connecting the power supply to Ace4U, it is ready to work.


Reviews
There are no reviews yet.