


Reminder: Witty Pi 3 has been discontinued, and the newer version is Witty Pi 4.
Witty Pi 3 is the third generation of Witty Pi, and Witty Pi 3 Rev2 is the second revision of Witty Pi 3 (first revision can be found here). It adds realtime clock (RTC) and power management to your Raspberry Pi, and can define complex ON/OFF sequence with simple script. Witty Pi 3 Rev2 supports all Raspberry Pi models with 40-pin header, including A+, B+, 2B, Zero, Zero W, Zero 2W, 3B, 3B+, 3A+ and 4B.
You just need to run these two commands in your Raspberry Pi to install Witty Pi 3’s software:
pi@raspberrypi:~ $ wget https://www.uugear.com/repo/WittyPi3/install.sh

pi@raspberrypi:~ $ sudo sh install.sh
Then you mount Witty Pi 3 Rev2 on your Raspberry Pi, and enjoy these amazing features provided by Witty Pi 3 Rev2:
- Power your Raspberry Pi with higher voltage (up to DC 28V).
- Gracefully turn on/off Raspberry Pi with single tap on the button.
- Fully cut the power of Raspberry Pi and all its USB peripherals after the shutdown.
- Automatically synchronise time between realtime clock and Raspberry Pi.
- Monitor the temperature around your Pi (thanks to the sensor in RTC chip).
- Schedule the startup/shutdown of your Raspberry Pi.
- Write a script to define complex ON/OFF sequence.
- Shutdown Raspberry Pi when input voltage is lower than the threshold value.
- Turn on Raspberry Pi when input voltage raise over the threshold value.
- Long hold the button to force power cut (when the OS loses response).
Witty Pi 3 Rev2 uses DS3231SN as the realtime clock and ATtiny841 as the micro-controller. Thanks to the on-board DC/DC converter (MP4462), Witty Pi 3 Rev 2 can accept input voltage up to 28V.
You can find much more information in its user manual: http://www.uugear.com/doc/WittyPi3Rev2_UserManual.pdf
Package Content:
Each Witty Pi 3 Rev2 package contains:
- Witty Pi 3 Rev2 board x 1
- CR2032 battery x 1
- M2.5 x 11mm Copper Standoff x 4
- M2.5 screws x 8
Specification:
Dimension: 65mm x 56mm x 19mm
Weight: 23g (net weight without battery)
Battery: CR2032 (for time and alarms keeping)
Power In: DC 5V (via USB type C connector) or DC 6V~28V (via XH2.54 connector)
Output Current: Up to 3A for Raspberry Pi and its peripherals
Static Current: ~1mA
Operating Temperature: -30℃~80℃ (-22°F~176°F)
Storage Temperature: -40℃~85℃ (-40°F~185°F)
Humidity: 0~80%RH, no condensing
User Manual
More information about this product can be found in its user manual: http://www.uugear.com/doc/WittyPi3Rev2_UserManual.pdf

Software
The Software for Witty Pi 3 is written with BASH (Unix shell).
The source code is public on Github: https://github.com/uugear/Witty-Pi-3
To install the software, just run these two commands:
pi@raspberrypi:~ $ wget http://www.uugear.com/repo/WittyPi3/install.sh

pi@raspberrypi:~ $ sudo sh install.sh
After the installation is done, reboot your Raspberry Pi.
To launch the Witty Pi utility, just run these commands:
pi@raspberrypi ~ $ cd wittypi

pi@raspberrypi ~/wittypi $ ./wittyPi.sh
More details about software installation and usage could be found on the user manual.
Confliction with 1-Wire Interface
If you have 1-Wire interface enabled and didn’t specify the GPIO pin for 1-Wire, it will use GPIO-4 and that conflict with Witty Pi. Witty Pi uses GPIO-4 to receive shutdown command, if GPIO-4 is also assigned to 1-Wire, Witty Pi’s software will receive shutdown command unexpectedly. If your Raspberry Pi always automatically shutdown itself after installing Witty Pi’s software, that most probably due to the confliction with 1-Wire interface.
When this happens, you most probably can not login your Raspberry Pi because it always shuts itself down before you get the chance to login. To solve this problem, you will need to take out the micro-SD card on your Raspberry Pi, and access its file system via a card reader. You need to edit the config.txt file in the “boot” volume to change the GPIO pin used by 1-Wire interface, or you can disable 1-Wire interface if you don’t need it for now. You need to find something like “dtoverlay=w1-gpio” in the file.
If you want 1-Wire to use GPIO-18, just change “dtoverlay=w1-gpio” to:
dtoverlay=w1-gpio,gpiopin=18
If you want to disable 1-Wire interface, just comment it out:
#dtoverlay=w1-gpio
Save the file and eject your micro SD card, and put it back to your Raspberry Pi. Now your Raspberry Pi should be able to boot normally.
Firmware
Witty Pi 3 Rev2 comes with the latest firmware (V1.04, ID=0x24), which can be downloaded from GitHub (direct link).
Schedule Script Generator
You can now use our web app to create and debug the schedule script for Witty Pi.


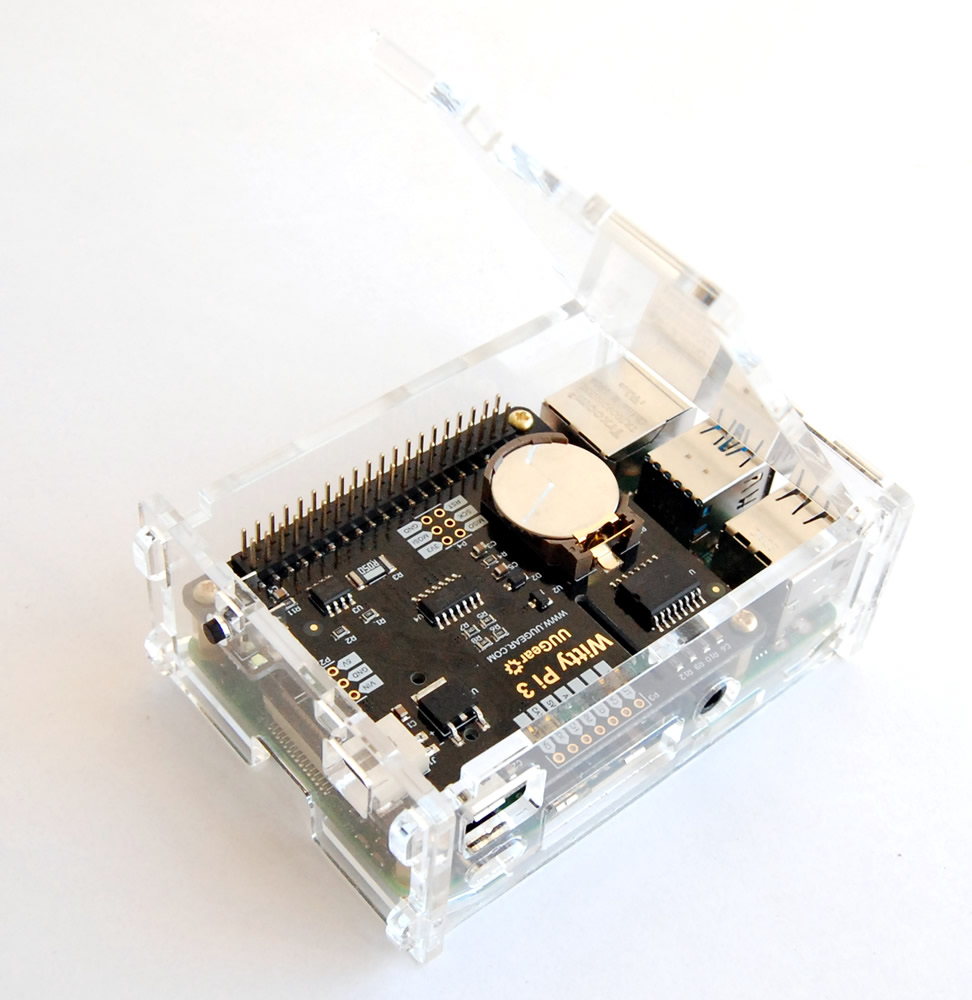
If you want, you can place Witty Pi 3 and Raspberry Pi into an Acrylic case: http://www.uugear.com/product/acrylic-case-for-witty-pi-3-and-raspberry-pi-34b/. The Acrylic case is compatible with Witty Pi 3 Rev1 and Rev2.
 and Raspberry Pi (Clear) 1")

 1")

Rodney –
I’ve had this for a couple of days now and I am very pleased with the quality of the hardware. It works as advertised and the instructions are clear. Installation was simple. Software is written mostly in shell scripts, but they work out of the box and between the manual and GitHub there is plenty of information to customize (I am using Python to monitor the input voltage). Voltage and current sensors seem very accurate based on my measurements. The temperature sensor is not as useful, since it’s on the board (in a case) it reads a fairly high value compared to ambient. I have not yet measured the standby current, but expect it all be as advertised. All in all I am very pleased with this product.
gswaggerty –
I received this a couple days ago and finally got around to trying it out today, and I am impressed. You can tell, just by looking at it that it is a quality piece of hardware. However, what really impressed me was how easy it was for a noob like me to get set up and functioning as described. This one piece of hardware and 5 minutes set up time probably saved weeks in research and configuration if I were to do it myself for my use, and this would still do more. I would recommebd this to anyone witha similar project as I.
jackjansen –
Wonderful board, exactly what I needed, and very happy I didn’t have to design it myself.
A question: is there a case available? Or a 3D model for a case? Or is there a user forum where I could ask? Or where I could offer my 3D model if I create one myself?
There doesn’t seem to be a forum here, and it isn’t possible to create issues on the GitHub project for the Witty Pi 3 (which would be an alternative to a forum).
admin –
Glad to know you like it.
We have an Acrylic case for Witty Pi 3 and Raspberry Pi.
You can share your 3D design in third-party platform, such as thingiverse.
jackjansen –
A 3D-printable case can be gotten from https://www.thingiverse.com/thing:4871374