, 7-Port USB Hub and Raspberry Pi (Clear) 1")
, 7-Port USB Hub and Raspberry Pi (Clear) 2")
, 7-Port USB Hub and Raspberry Pi (Clear) 3")
, 7-Port USB Hub and Raspberry Pi (Clear) 4")
, 7-Port USB Hub and Raspberry Pi (Clear) 5")
Description
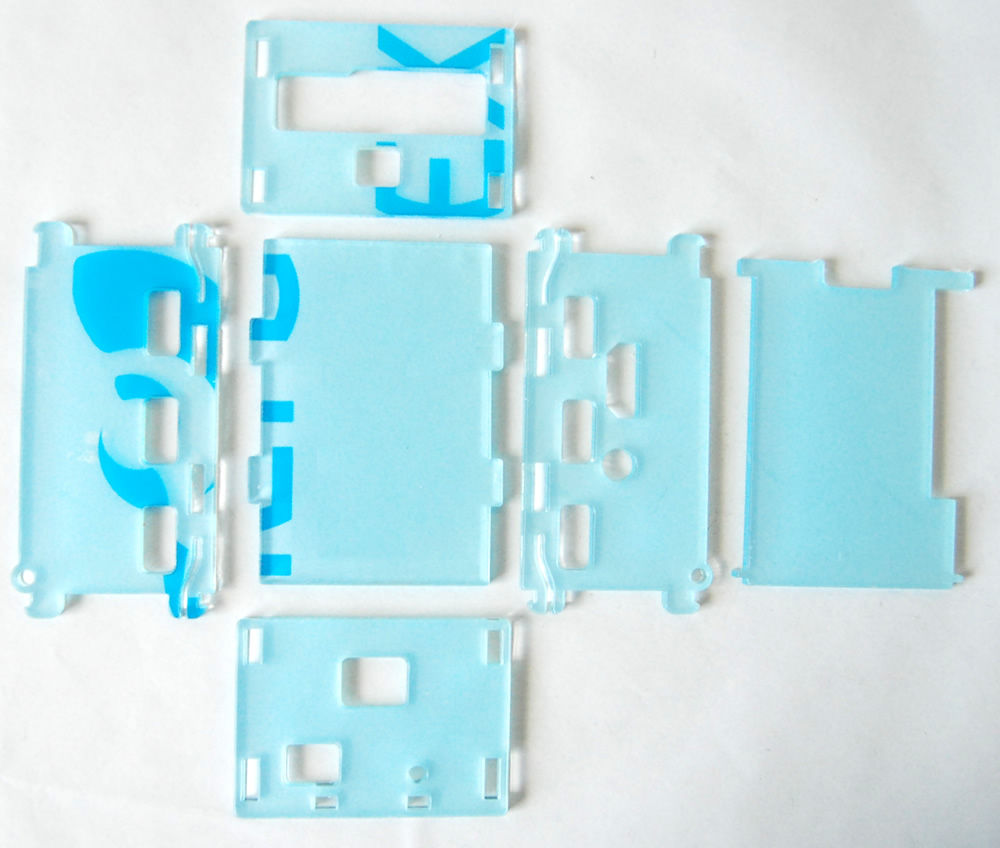
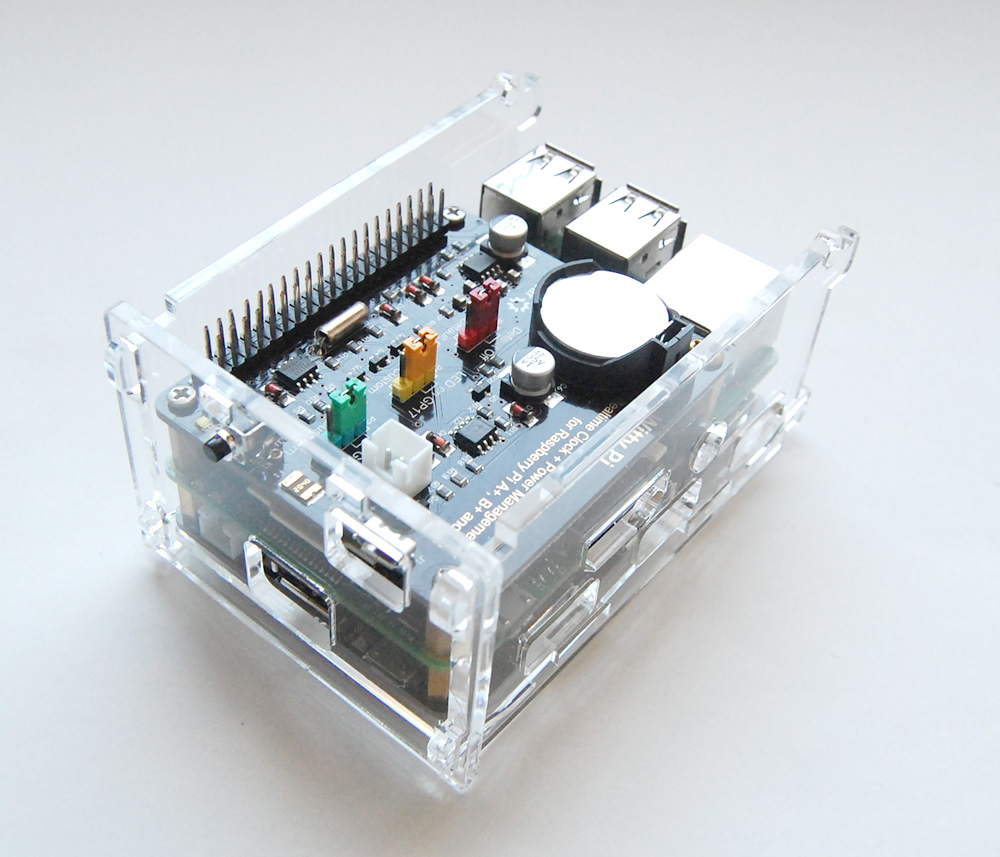
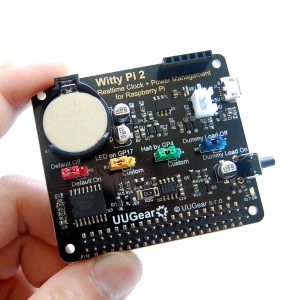
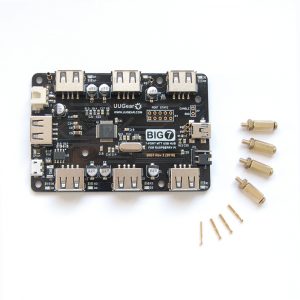
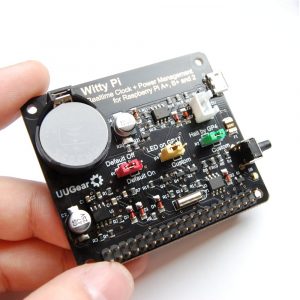
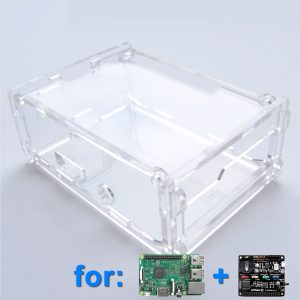
This case is composed 6 pieces of clear acrylic sheets, and can hold your Witty Pi (or Witty Pi 2), Raspberry Pi and 7-Port USB Hub (BIG7) together. The acrylic sheets are 3mm thick and the case can protect your Witty Pi + Raspberry Pi + 7-port USB hub very well.
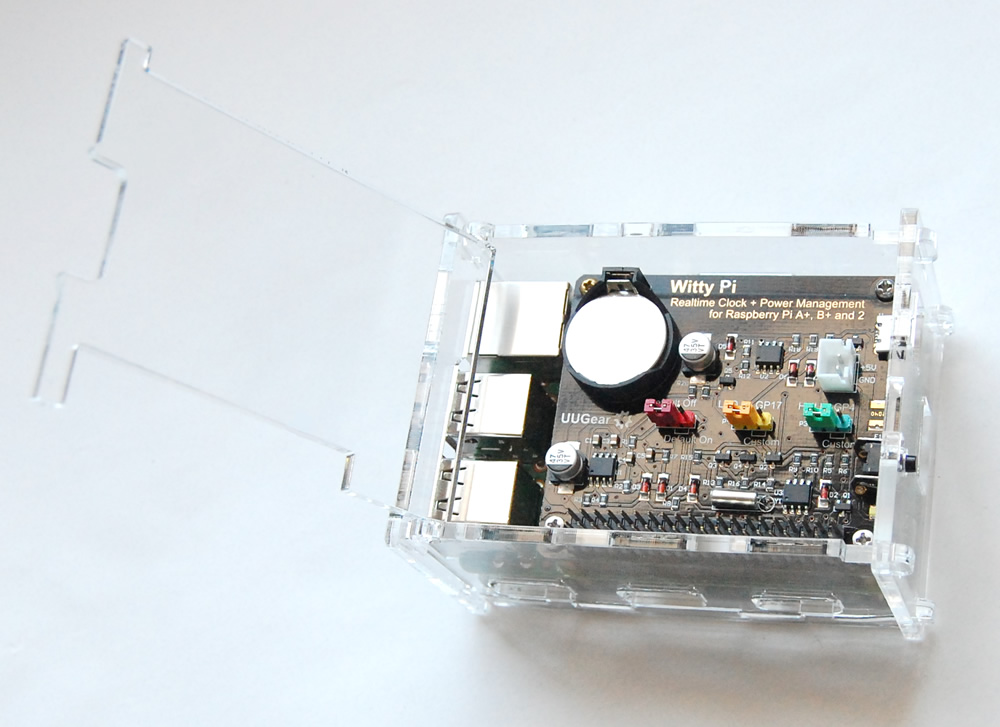
The top cover can be opened so you can connect/remove cables to/from the CSI and DSI connectors. There is also a window for GPIO header, so you can still access all GPIO pins.
Remarks: it doesn’t fit the newly released Witty Pi 3.
Step by Step Assembly Guide
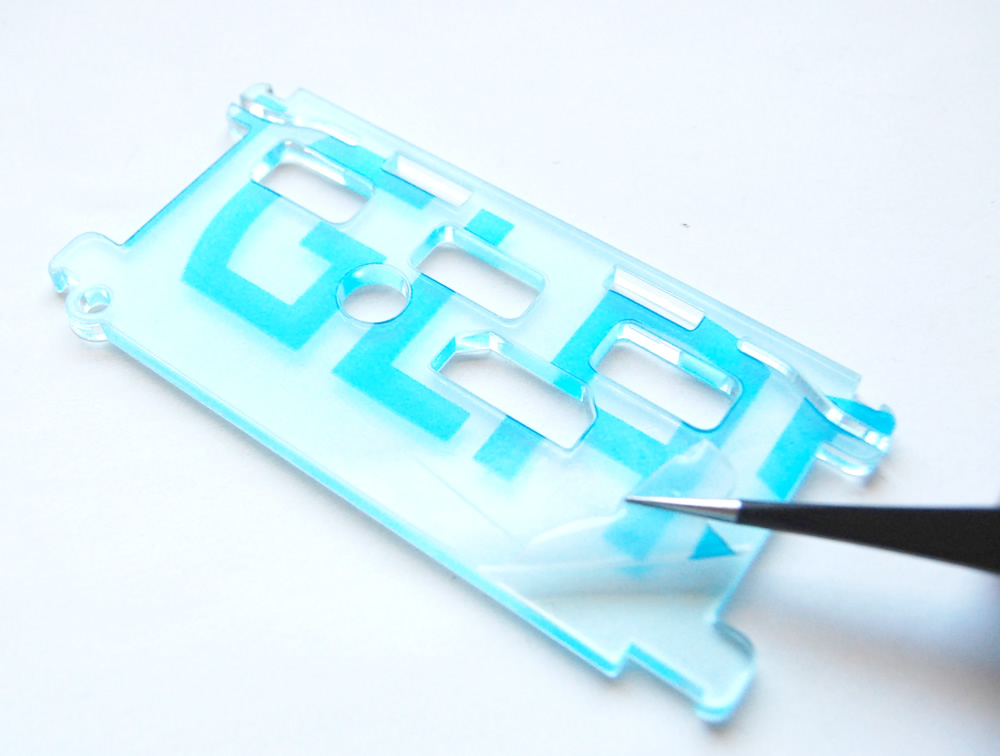
The case is composed of six acrylic plates. Each acrylic plate has protective membrane on its surfaces, and you will need to remove the membrane before going to the next step.
Use tweezers or fingernails to peel off the membrane on both sides carefully, then you will see the smooth surfaces.
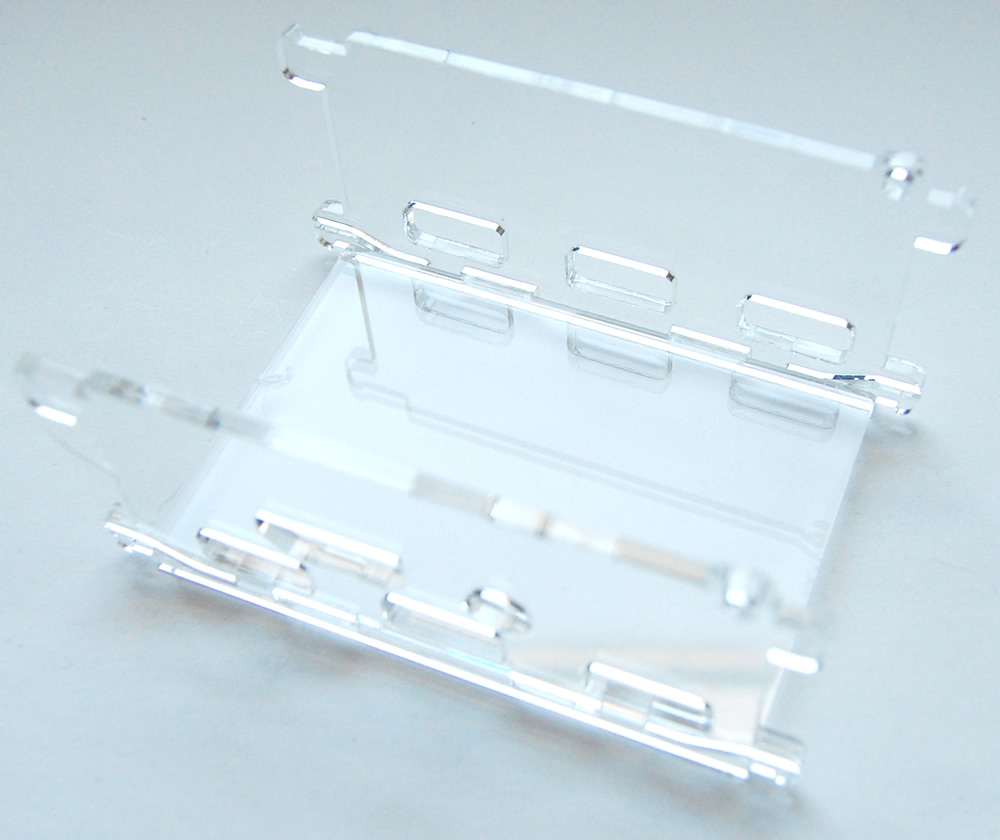
Connect the two side plates on the bottom plate, as shown below. Please pay attention to the direction of the plates, it is better to put them right at the first place.
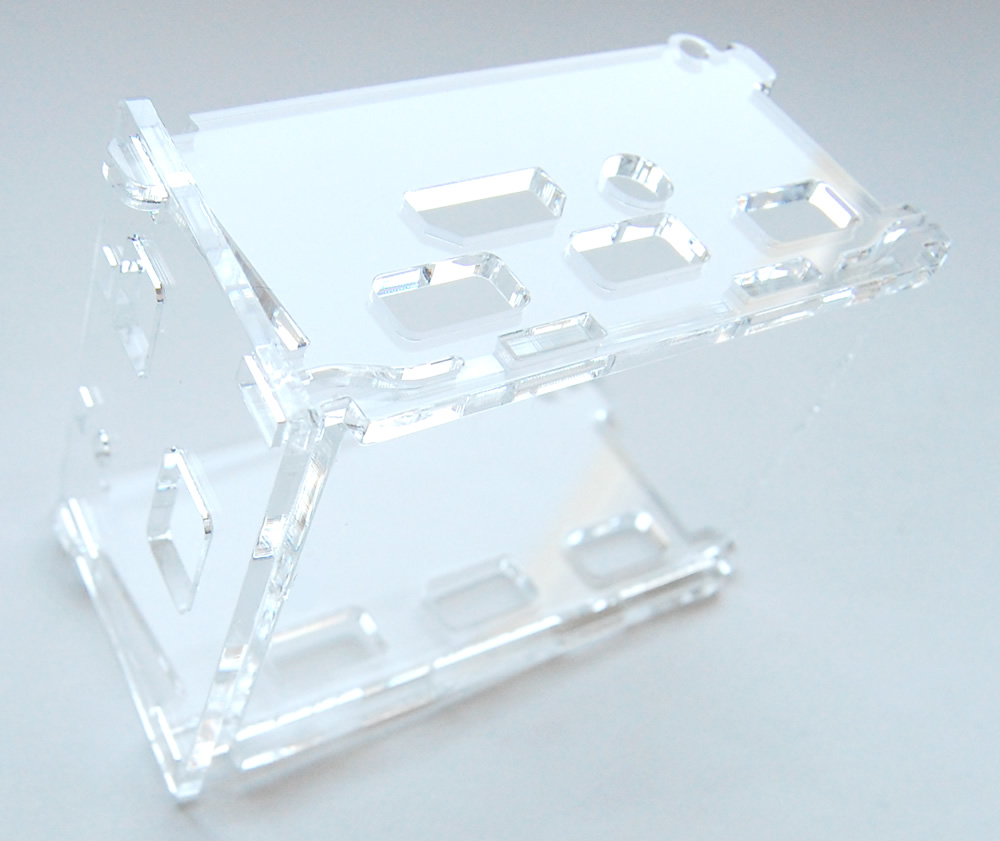
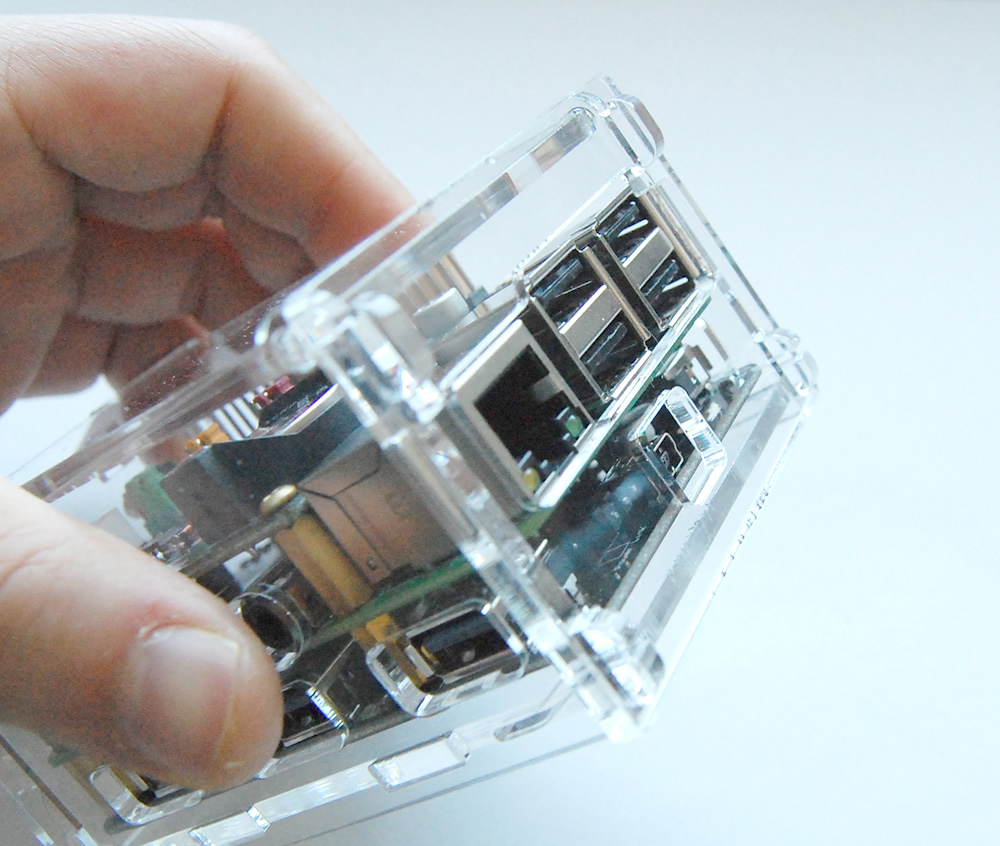
Now we setup the left end, which has two holes for one USB port and the micro-USB jack. Slide the top of the plate over the two hooks on top, then gently pivot the plate downward over the two hooks at bottom. It should snap to the position. If you feel big resistance, don’t push it, or you might break the hook.
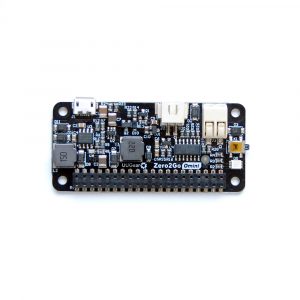
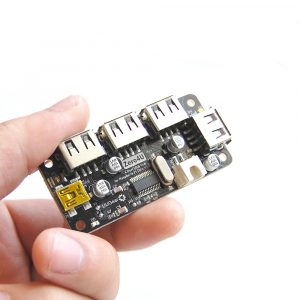
Now we can put the Witty Pi + Raspberry Pi + 7-Port USB hub into the case, make sure to mount them together beforehand, and fix them with the copper standoffs, screws and nuts.
Mount the top cover on its position (please double-check the direction, the window for GPIO header should align to the GPIO header). The two side walls may have a trend to expand, use your fingers to keep them in position.
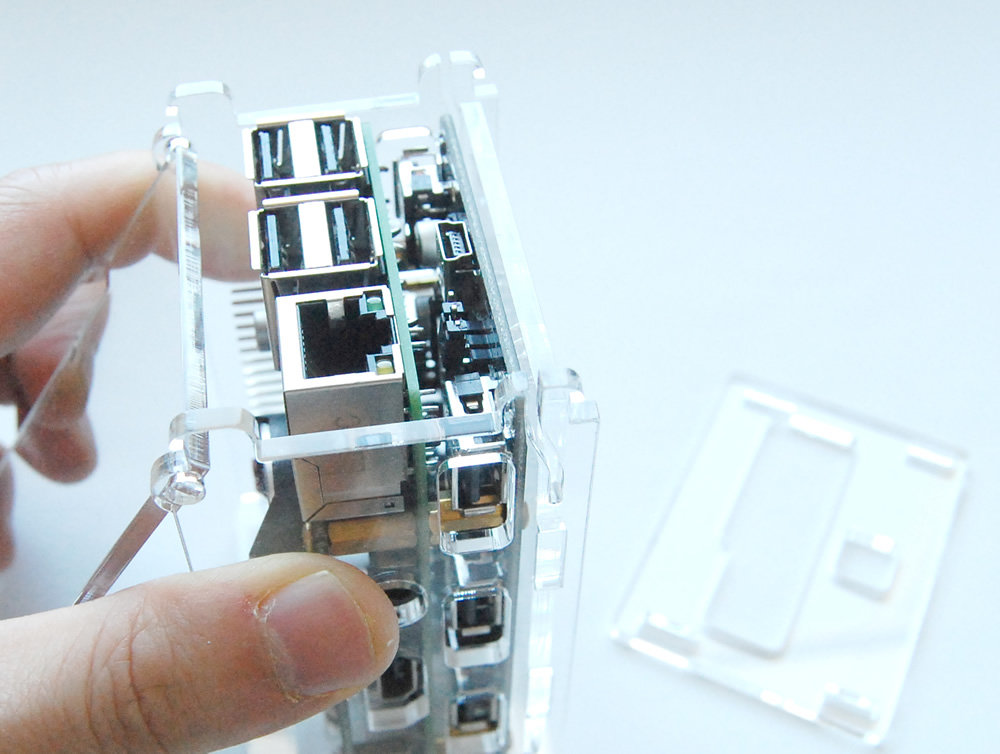
The final step is to mount the right end plate. You should also start from the top hooks.

Again gently pivot the plate downward over the two hooks at bottom, and it will snap to the position. Don’t push it if you feel big resistance, or you might break the hook.
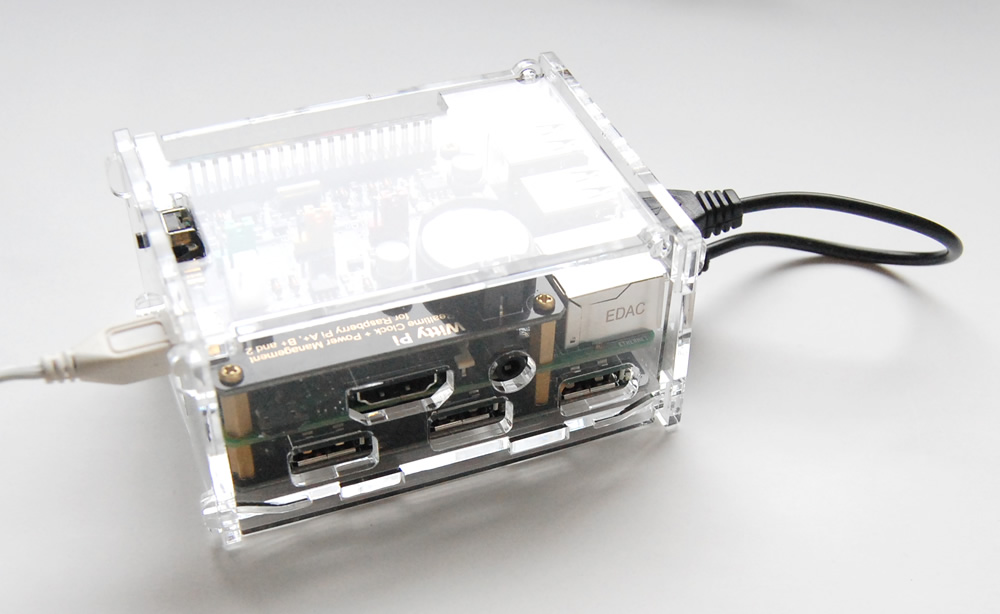
All done! The figure below shows how it looks like:
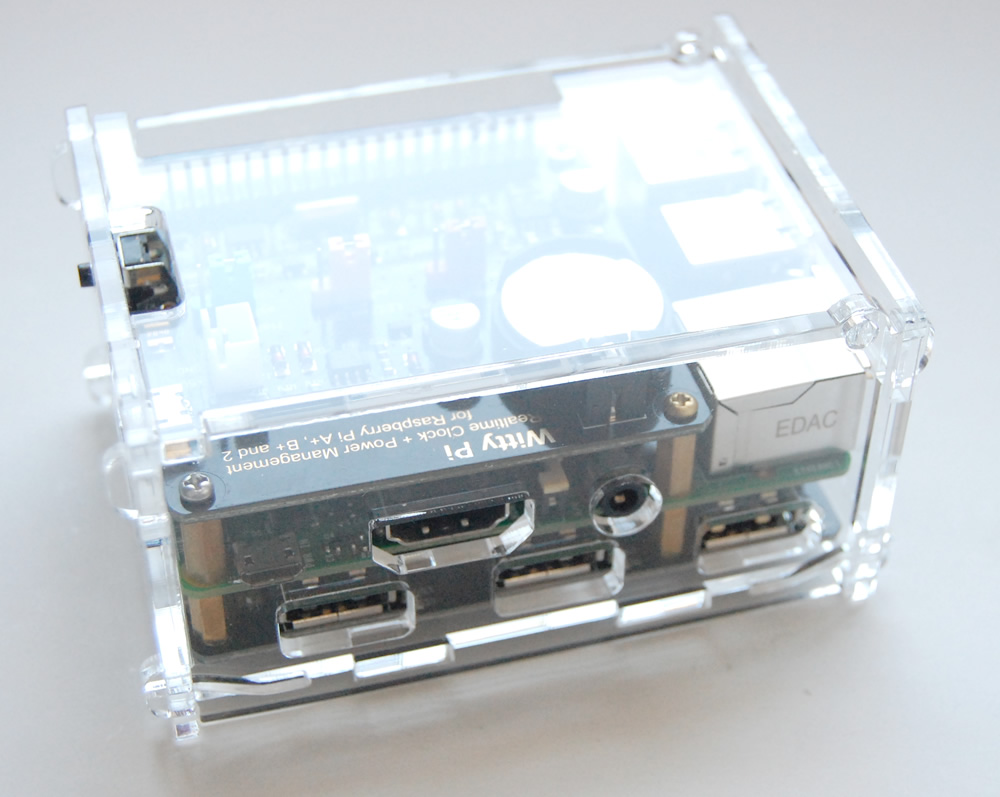
You can open its top cover when it is needed:
After connecting the power supply and the USB cable, it is ready to work.
Lee –
A good product, I bought this with the 7 port hub and it has good hole alignment,
It is only marked down 1 star because it is relying on you having a witty PI board as well so the hole at the top can take power in, I am using this with a 7 port hub but a different board on top (powered directly from the Pi) so I had to get the dremel out to make a hole so I can power the usb hub direct,
I think another hole for powering the hub would be a great addition, this being a Raspberry Pi product I think it’s safe to assume that people will go for many different set-ups with this case, not just it’s intended purpose,
It is a good case that could be used with many different boards on top, plenty of space!